Time Tracking Configuration
Configure time tracking settings, validation rules, and custom fields to match your organization's needs. This guide covers blocking time tracking on specific days, custom form fields, and time framework configuration.
Blocking Time Tracking on Select Days of the Week
Here's how to create rules that stop time-tracking entries on certain days. By setting up validation rules, you can ensure that time changes adhere to company policies, labor laws, and regulatory requirements. This feature can also act as a safeguard against human errors.
Accessing Validation Rules
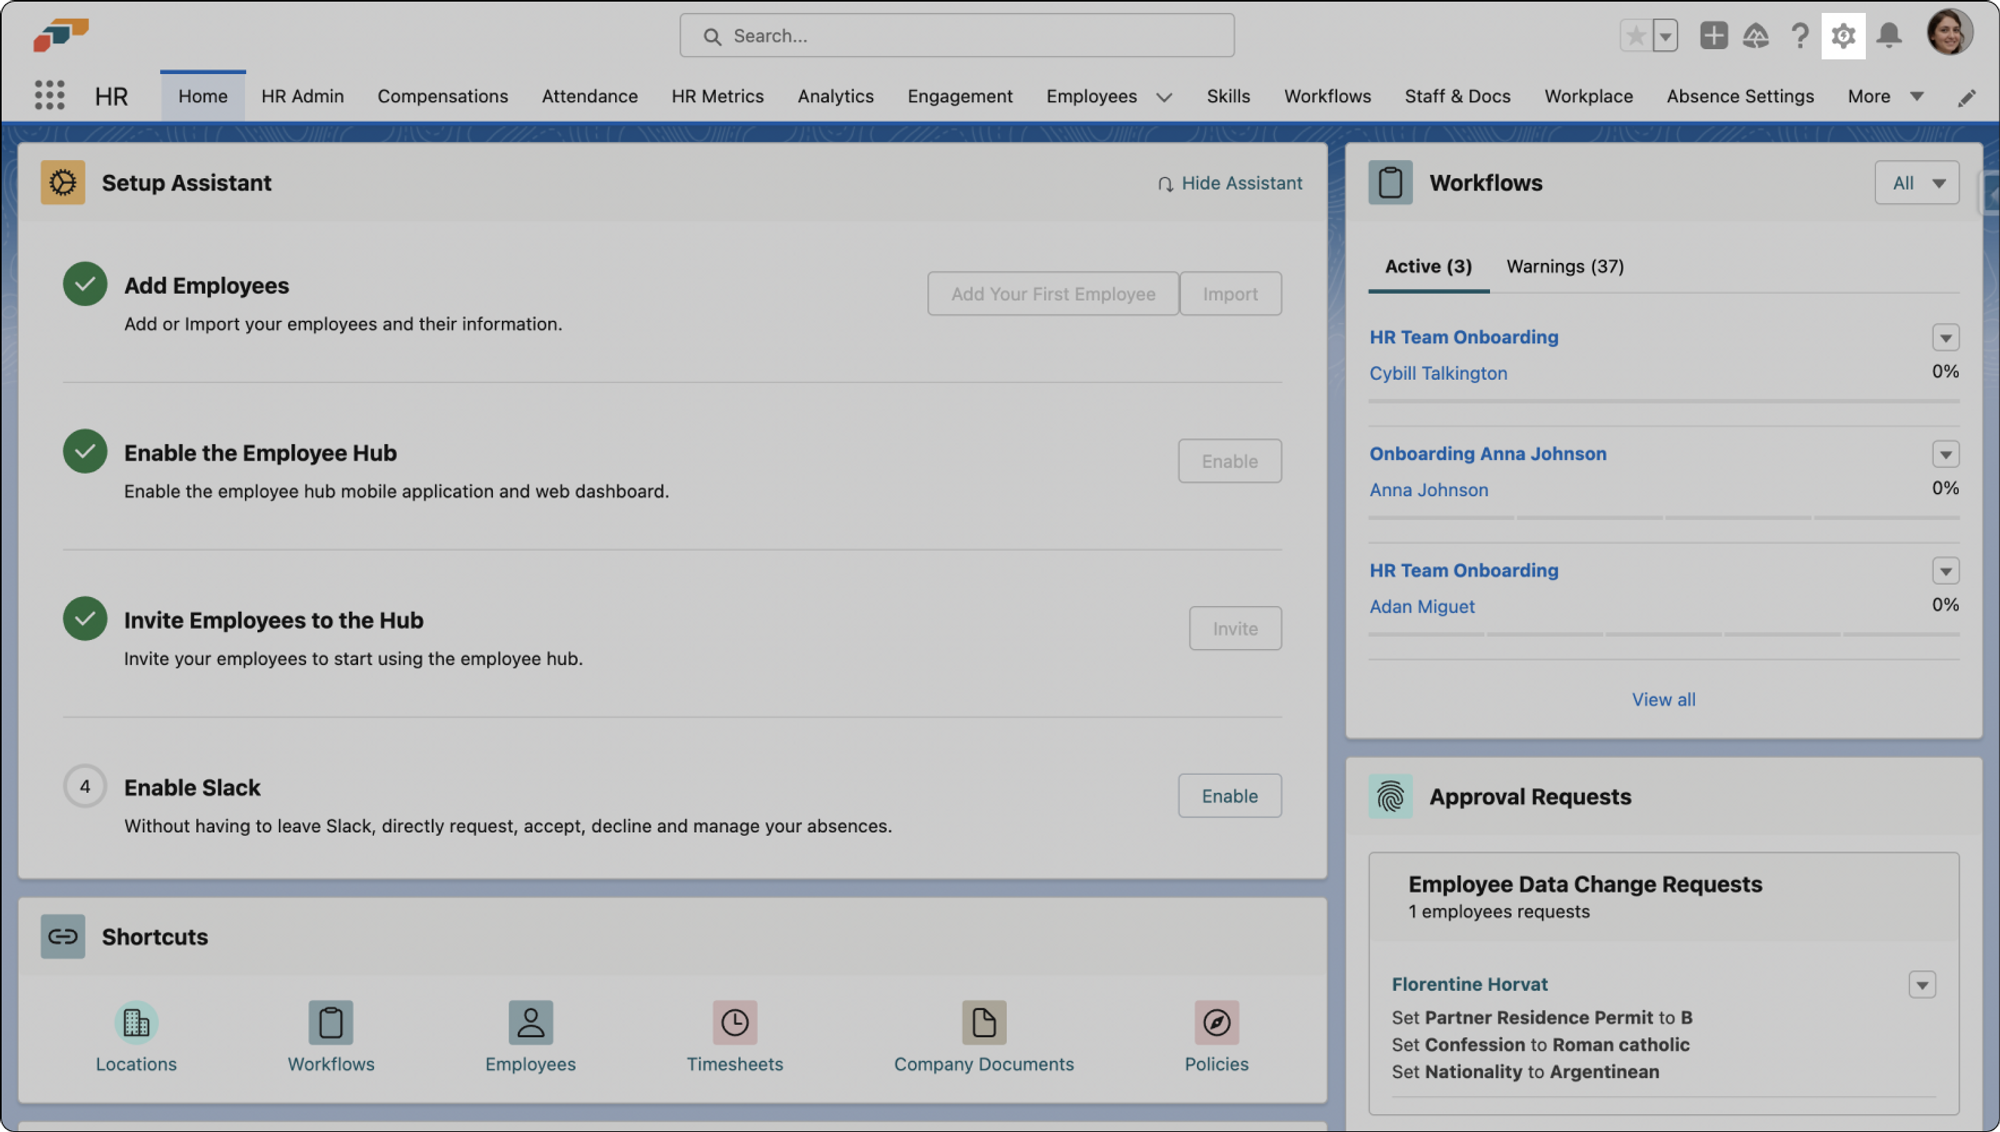
- In your Salesforce app, navigate to the Setup menu by clicking on the cog icon in the upper-right corner.
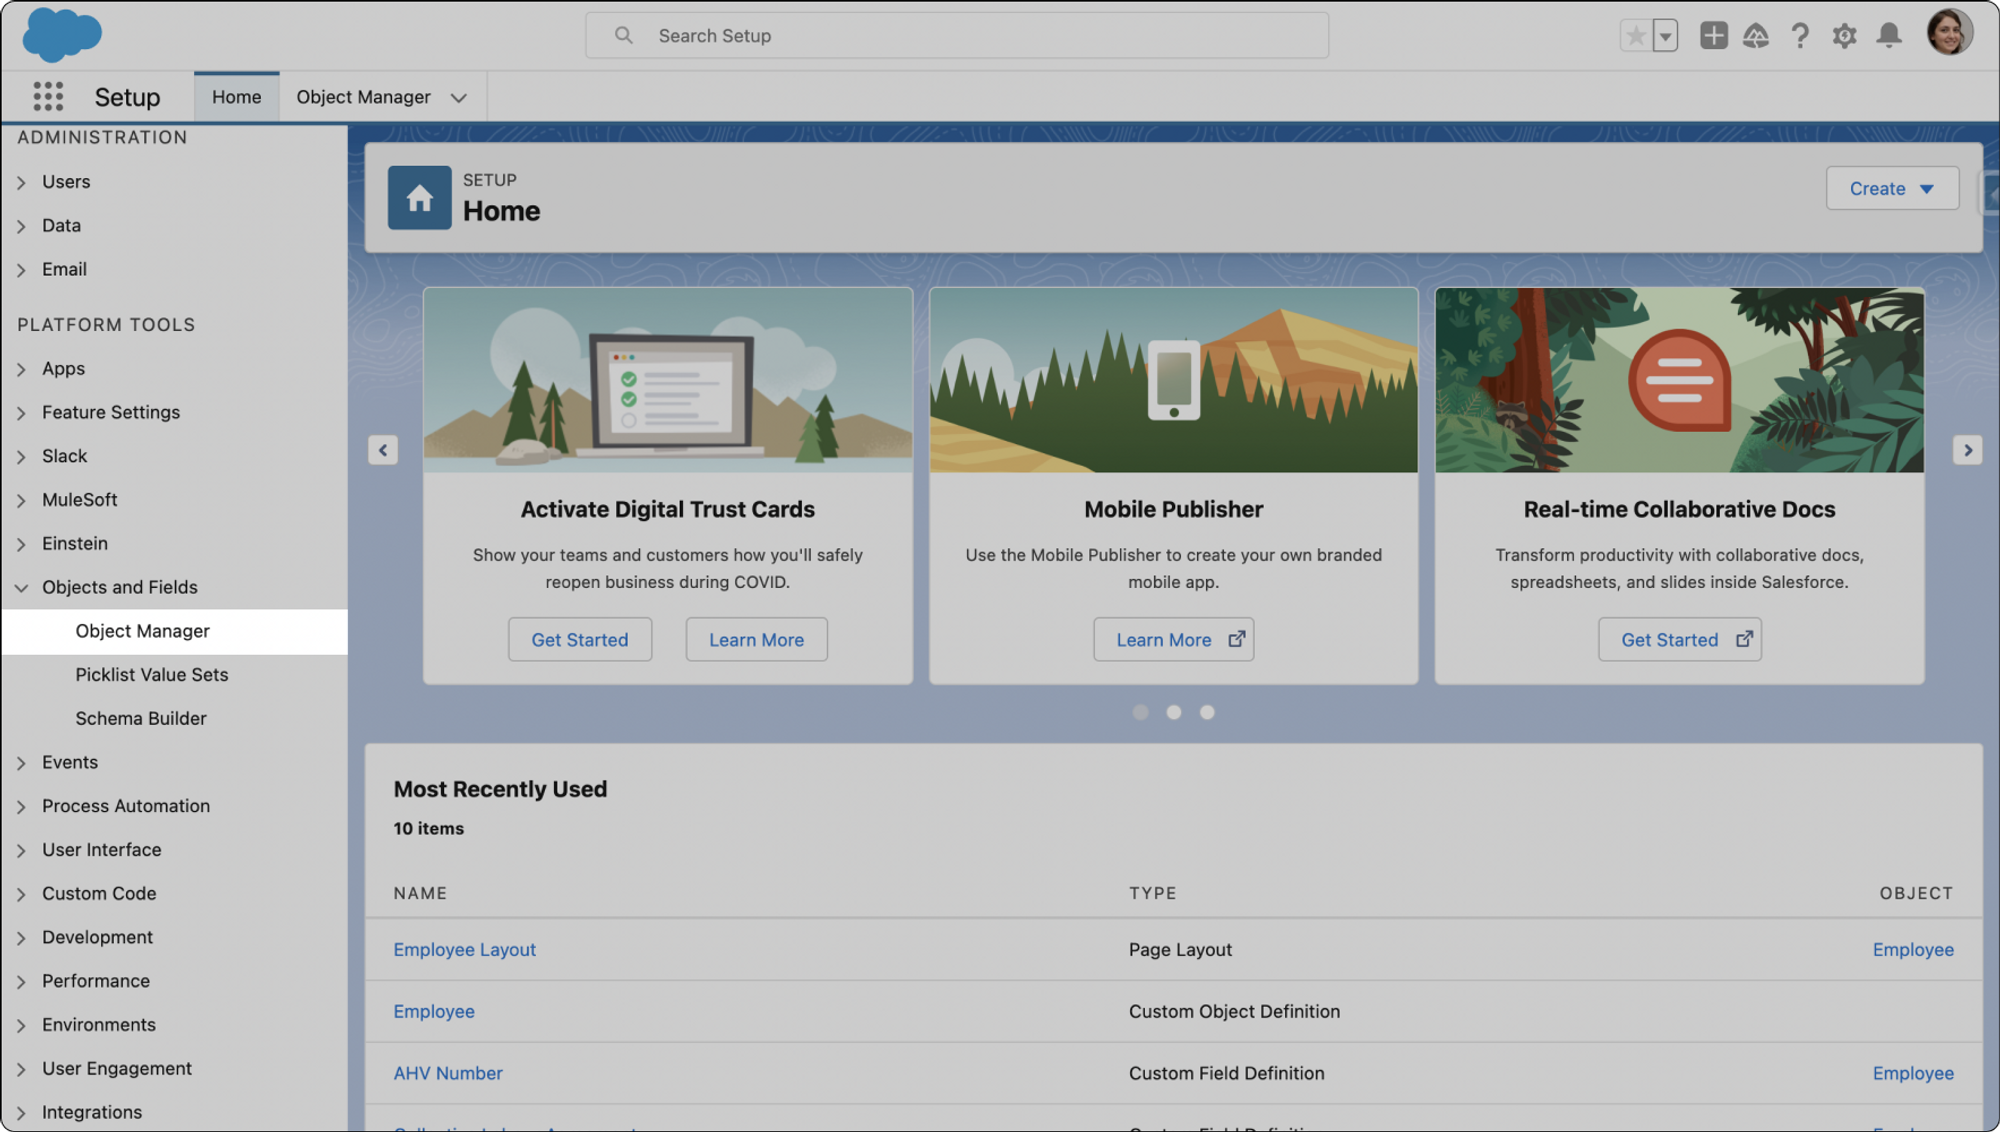
- Next, in the left-hand panel, under Platform Tools, select Object Manager in the Object and Fields drop-down menu.
Setting Up Validation Rules for Time Tracking
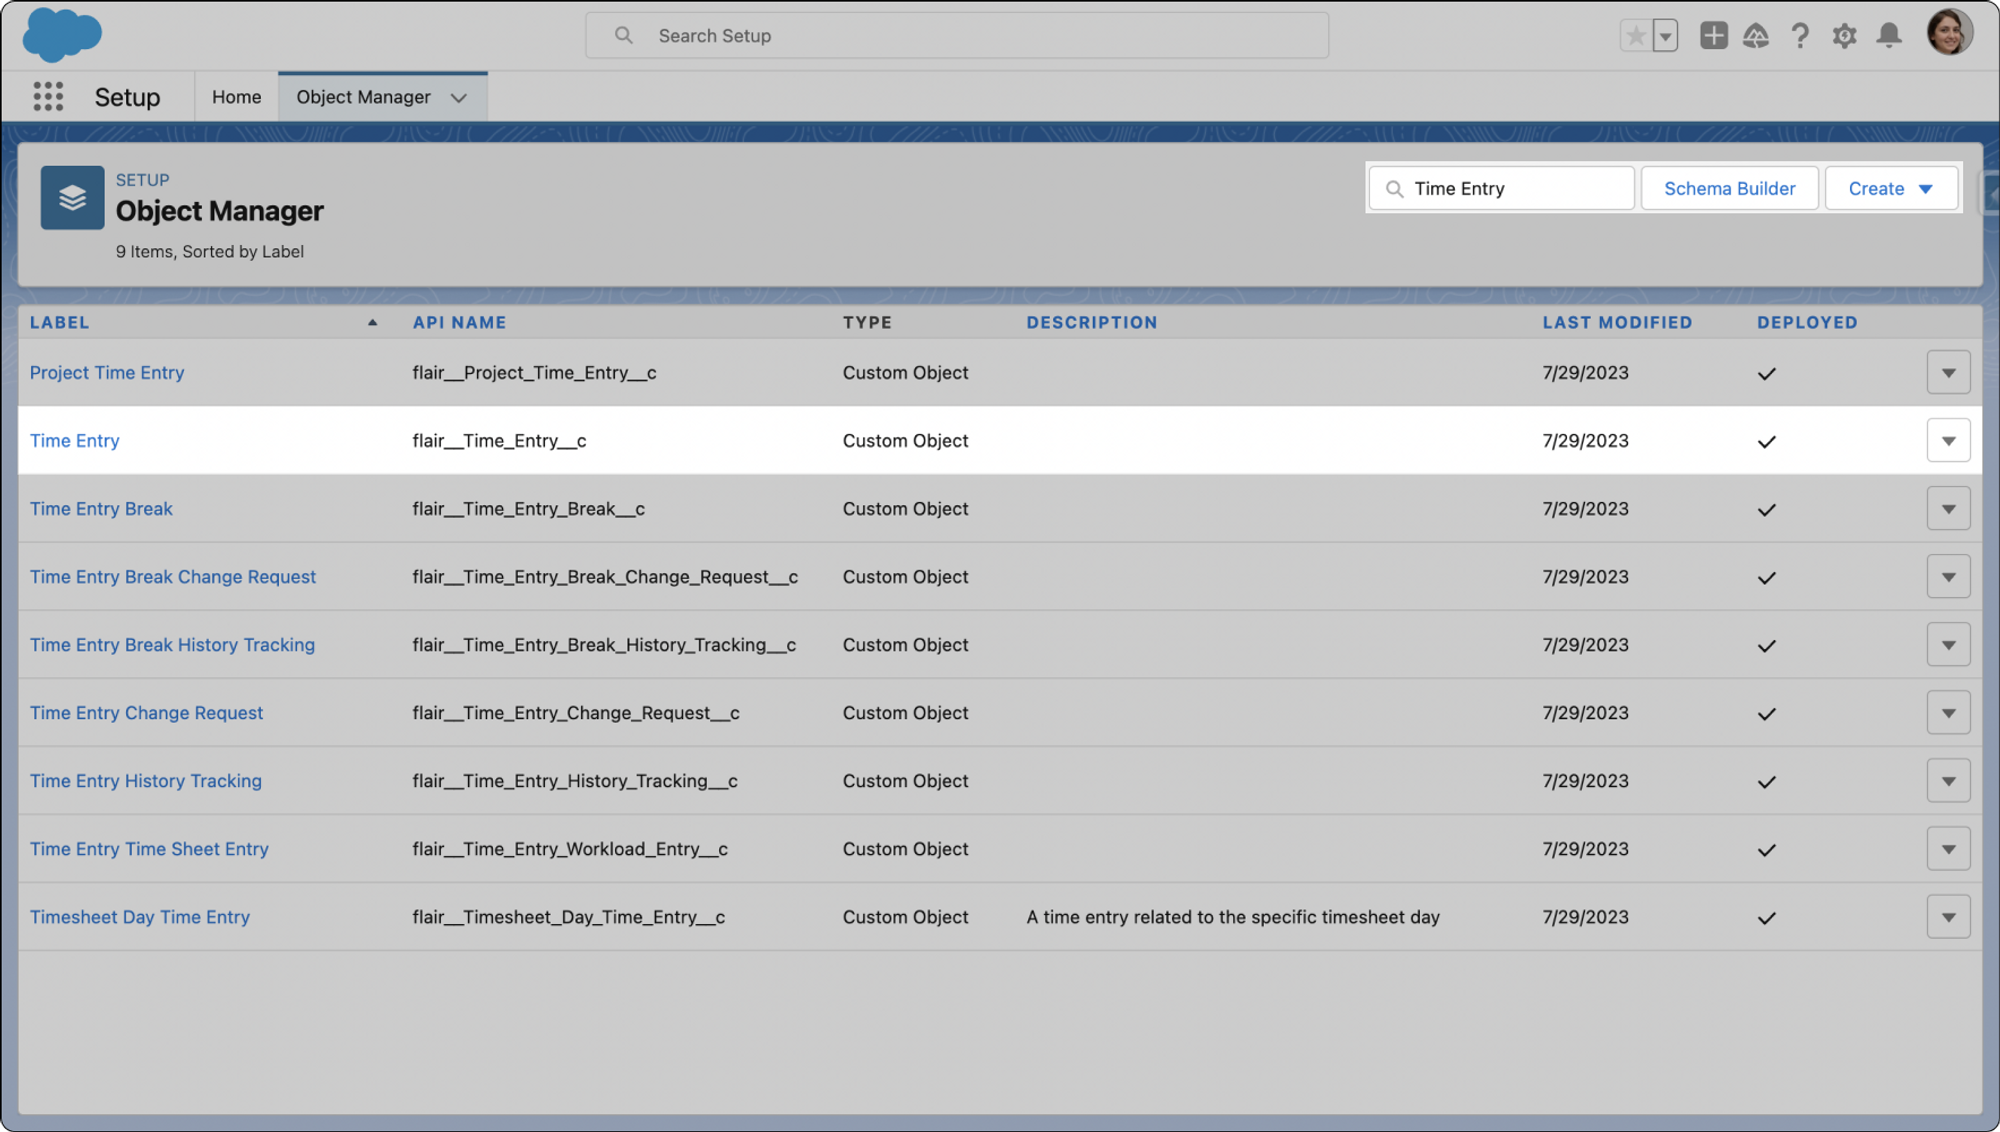
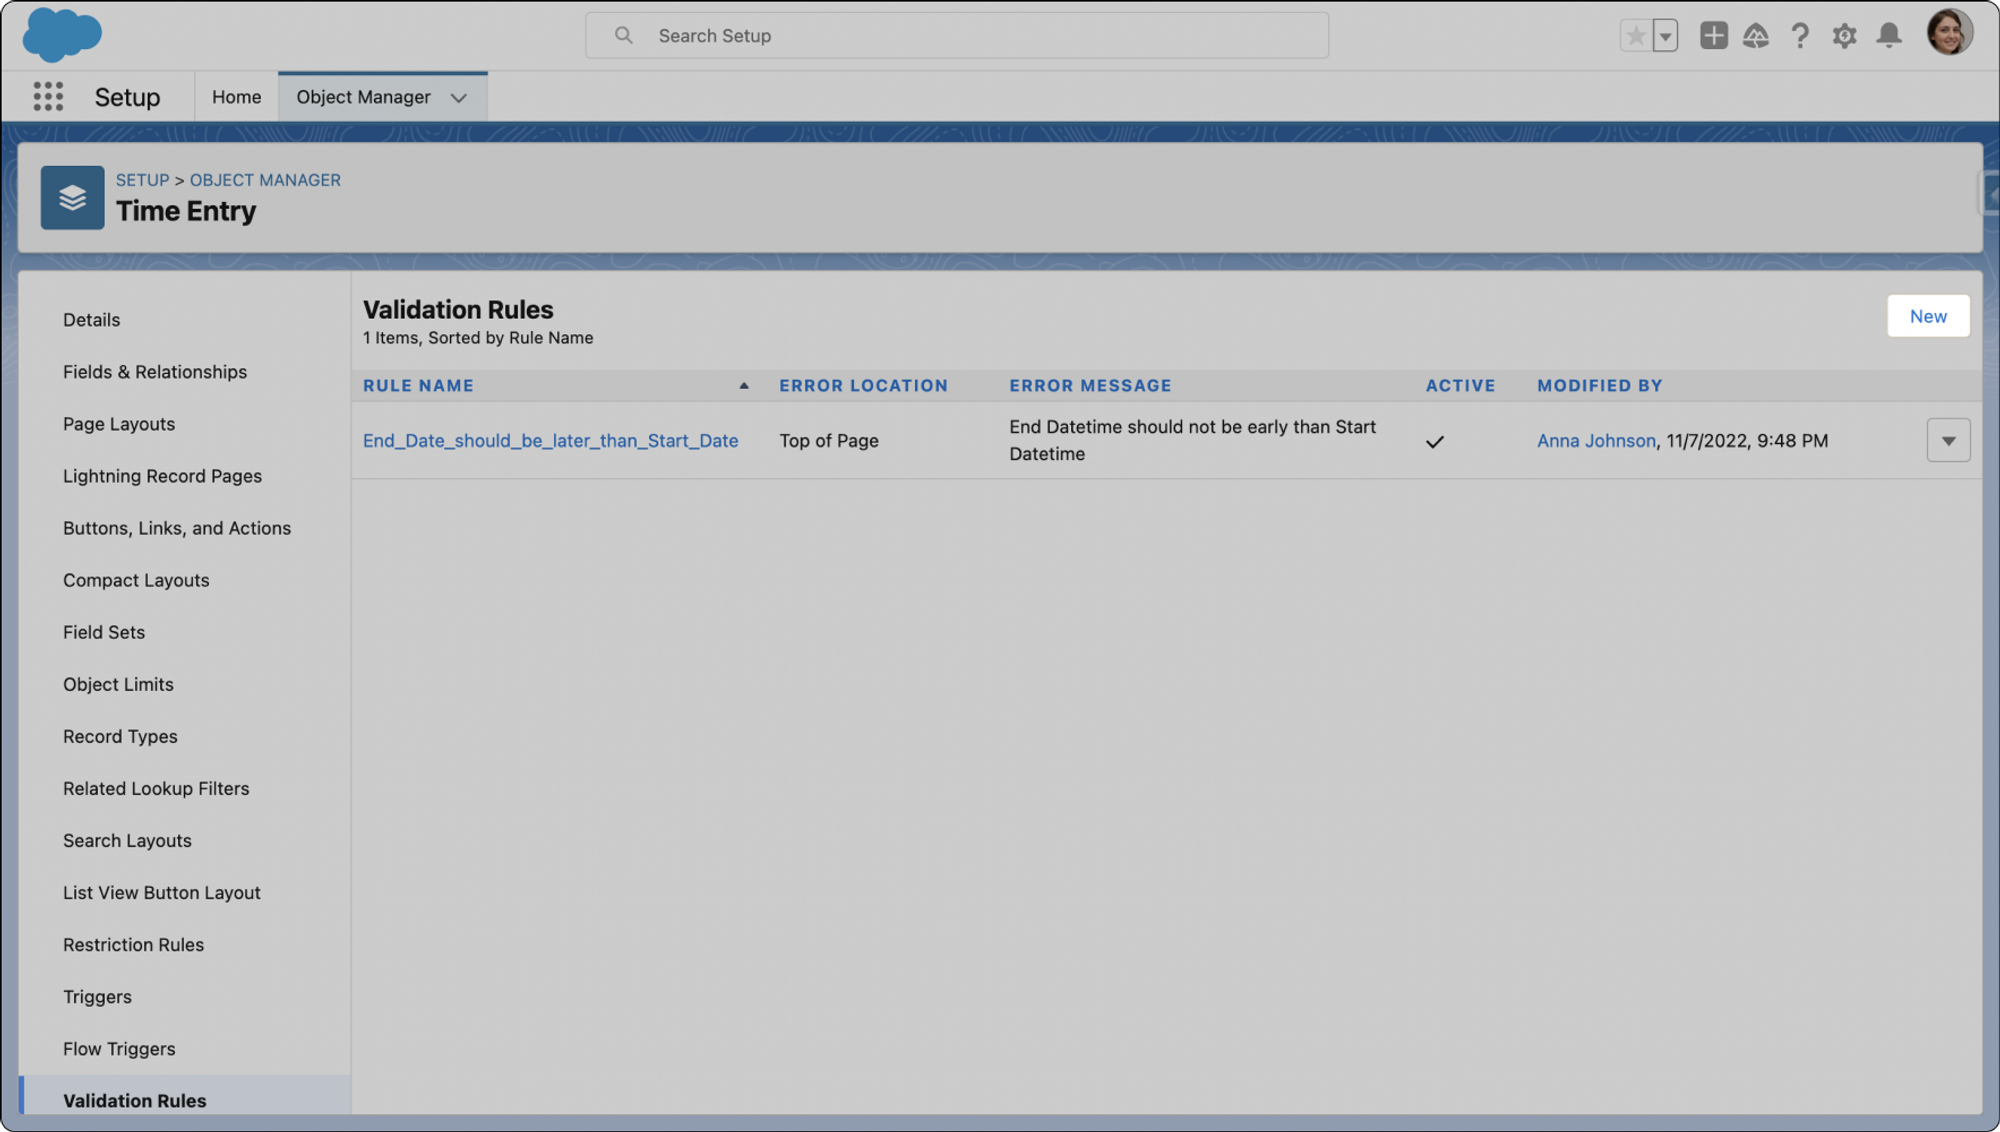
- In the Object Manager, locate and click on the Time Entry object. You can use the Quick Find search box.
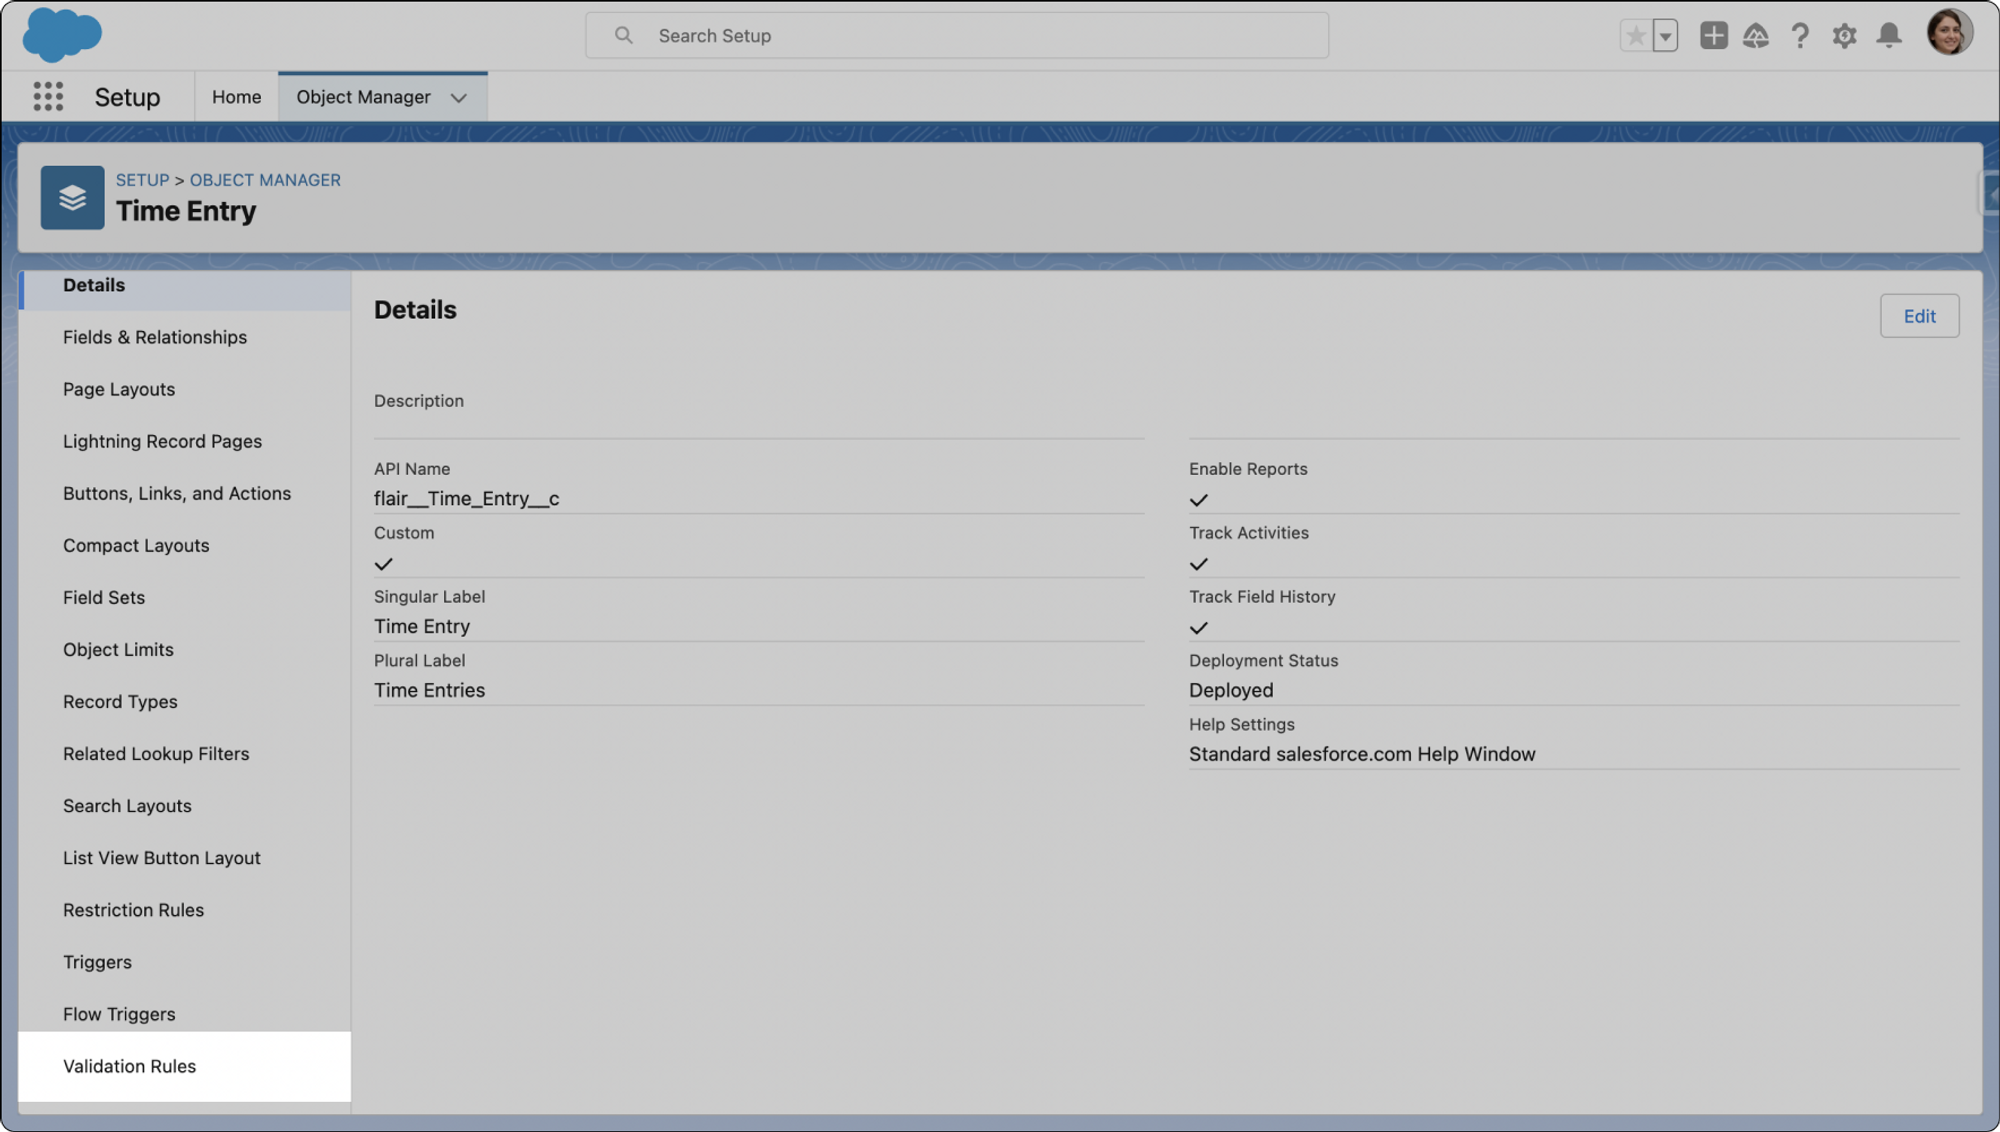
- Scroll down the left panel and click on Validation Rules.
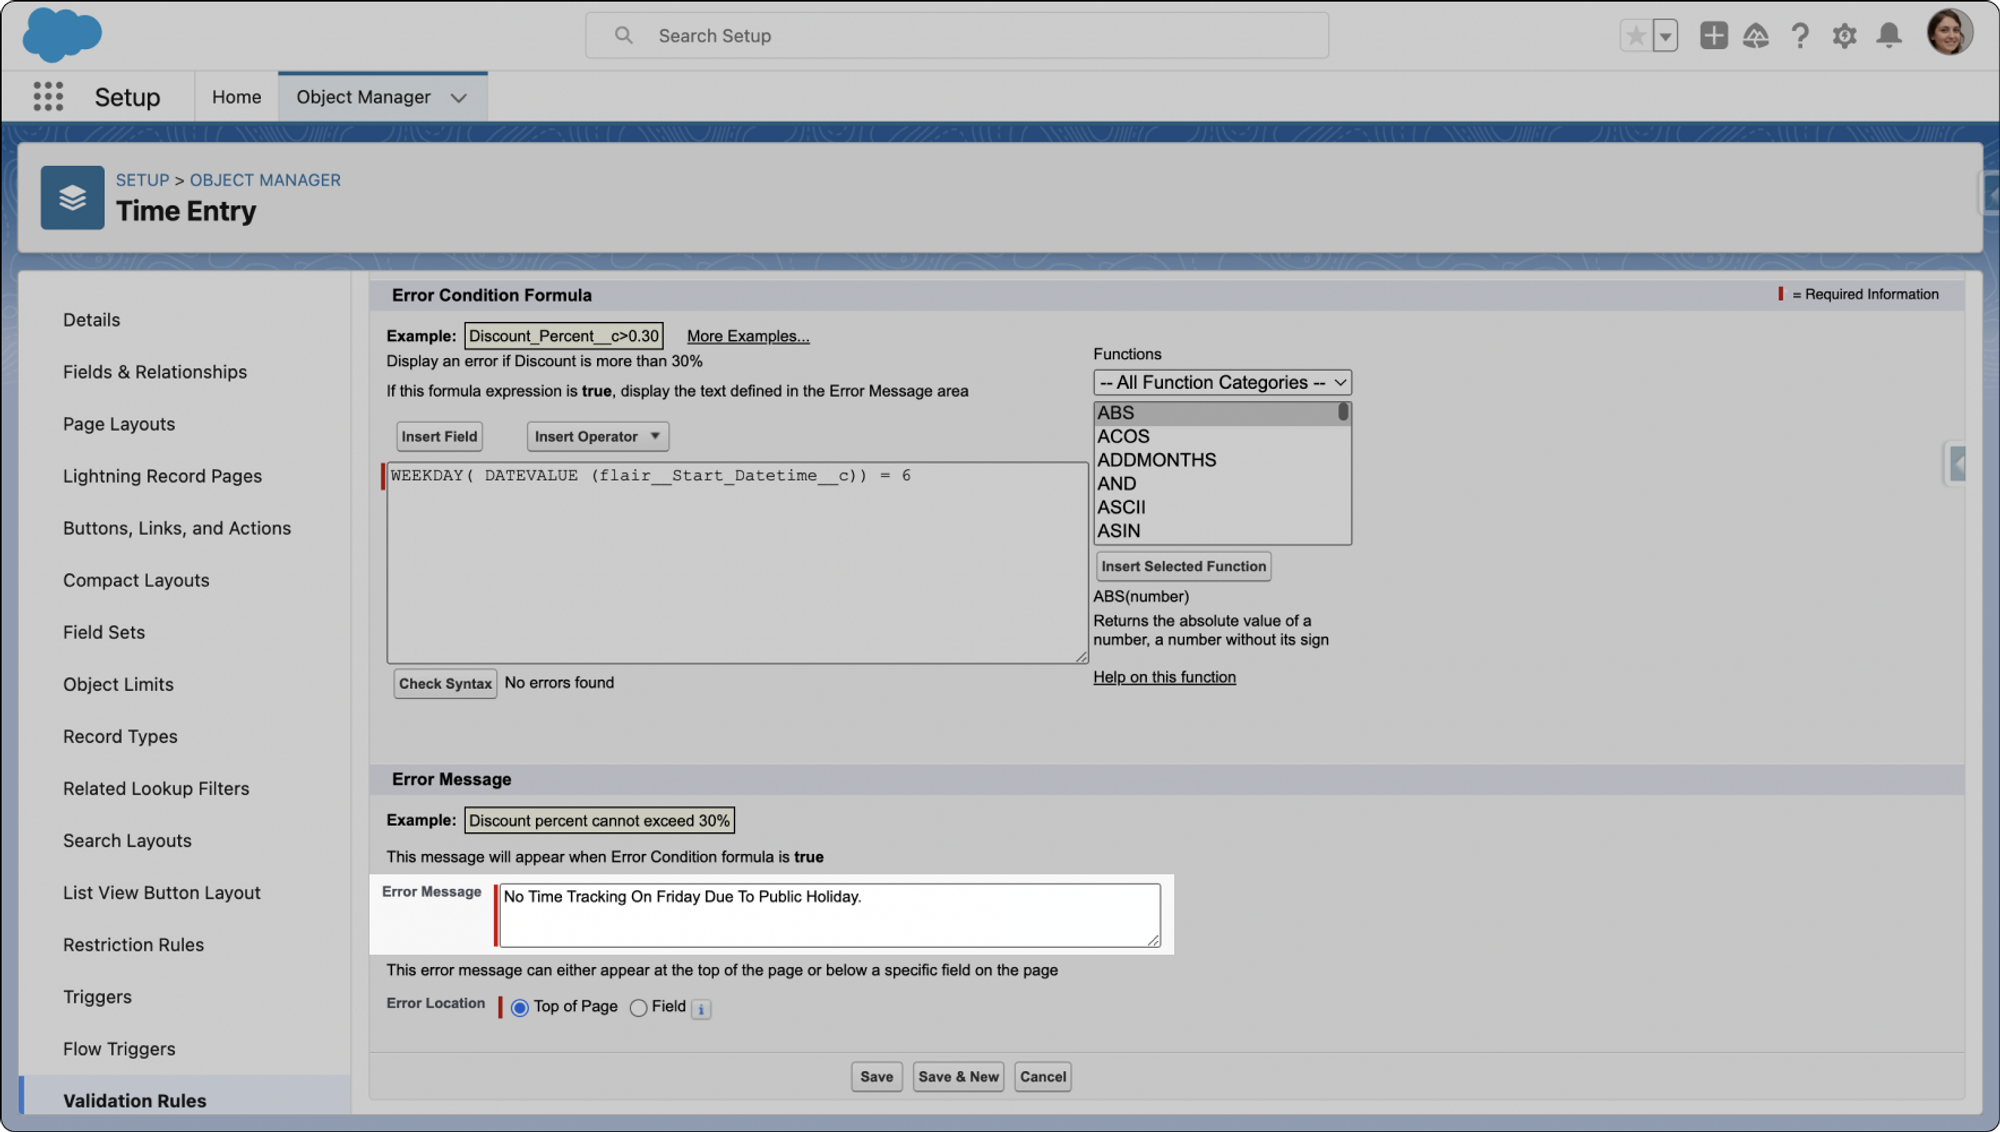
- Next click New. To set your new validation rule to prevent time tracking on a certain day, you will need a formula. The formula is: WEEKDAY( DATEVALUE (flairStart_Datetimec)) = 6
- Formula explained: The number at the end of the formula represents the day of the week, starting with Sunday as 1 and incrementing for each subsequent day. For example, Friday is the sixth day of the week, so this formula above and below prevents time tracking on Fridays.

- To customize the error message that appears when the rule is violated, you can input your message into the Error Message text box. In this case, the error message will appear on the Employee Hub if staff members attempt to time track on a prohibited day.
Preventing Time Entry Changes on Designated Days
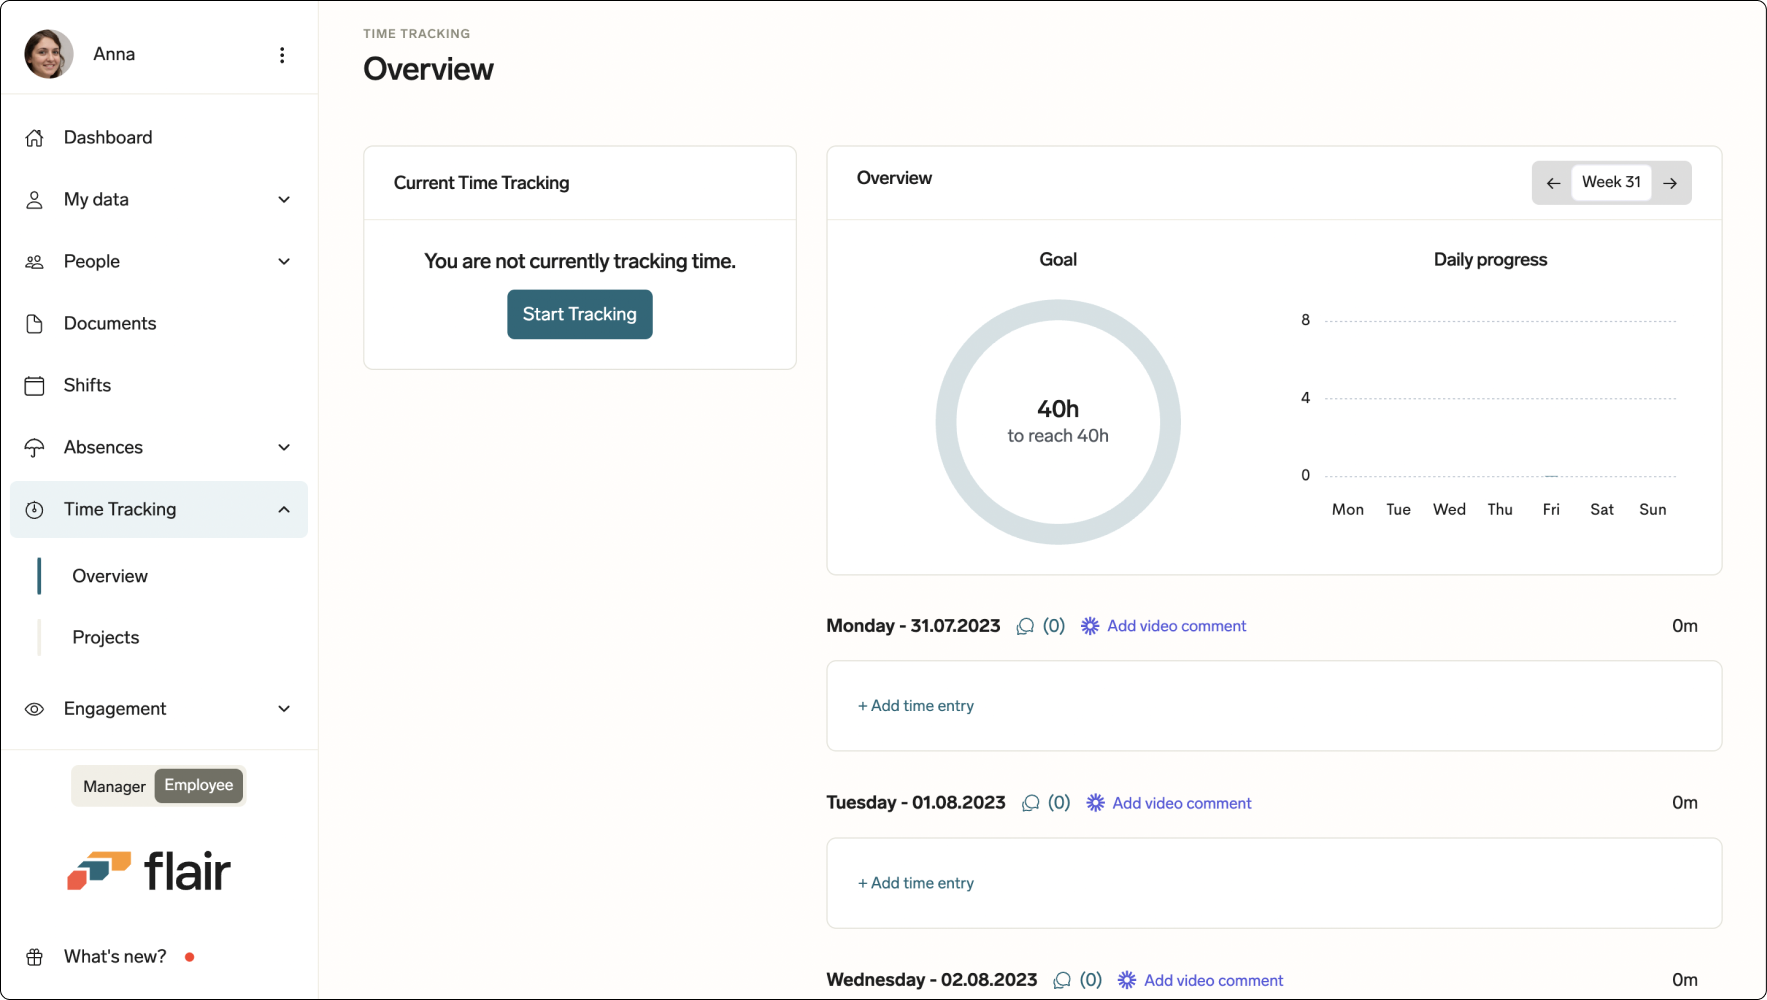
- To prevent users from manually making changes to their time entries i.e. using Add time entry on the Employee Hub, you'll need to set up a validation rule for the Time Entry Change Request object.
Configuring Validation Rules for Time Entry Change Requests
- This time in the Object Manager, locate and click on the Time Entry Change Request object
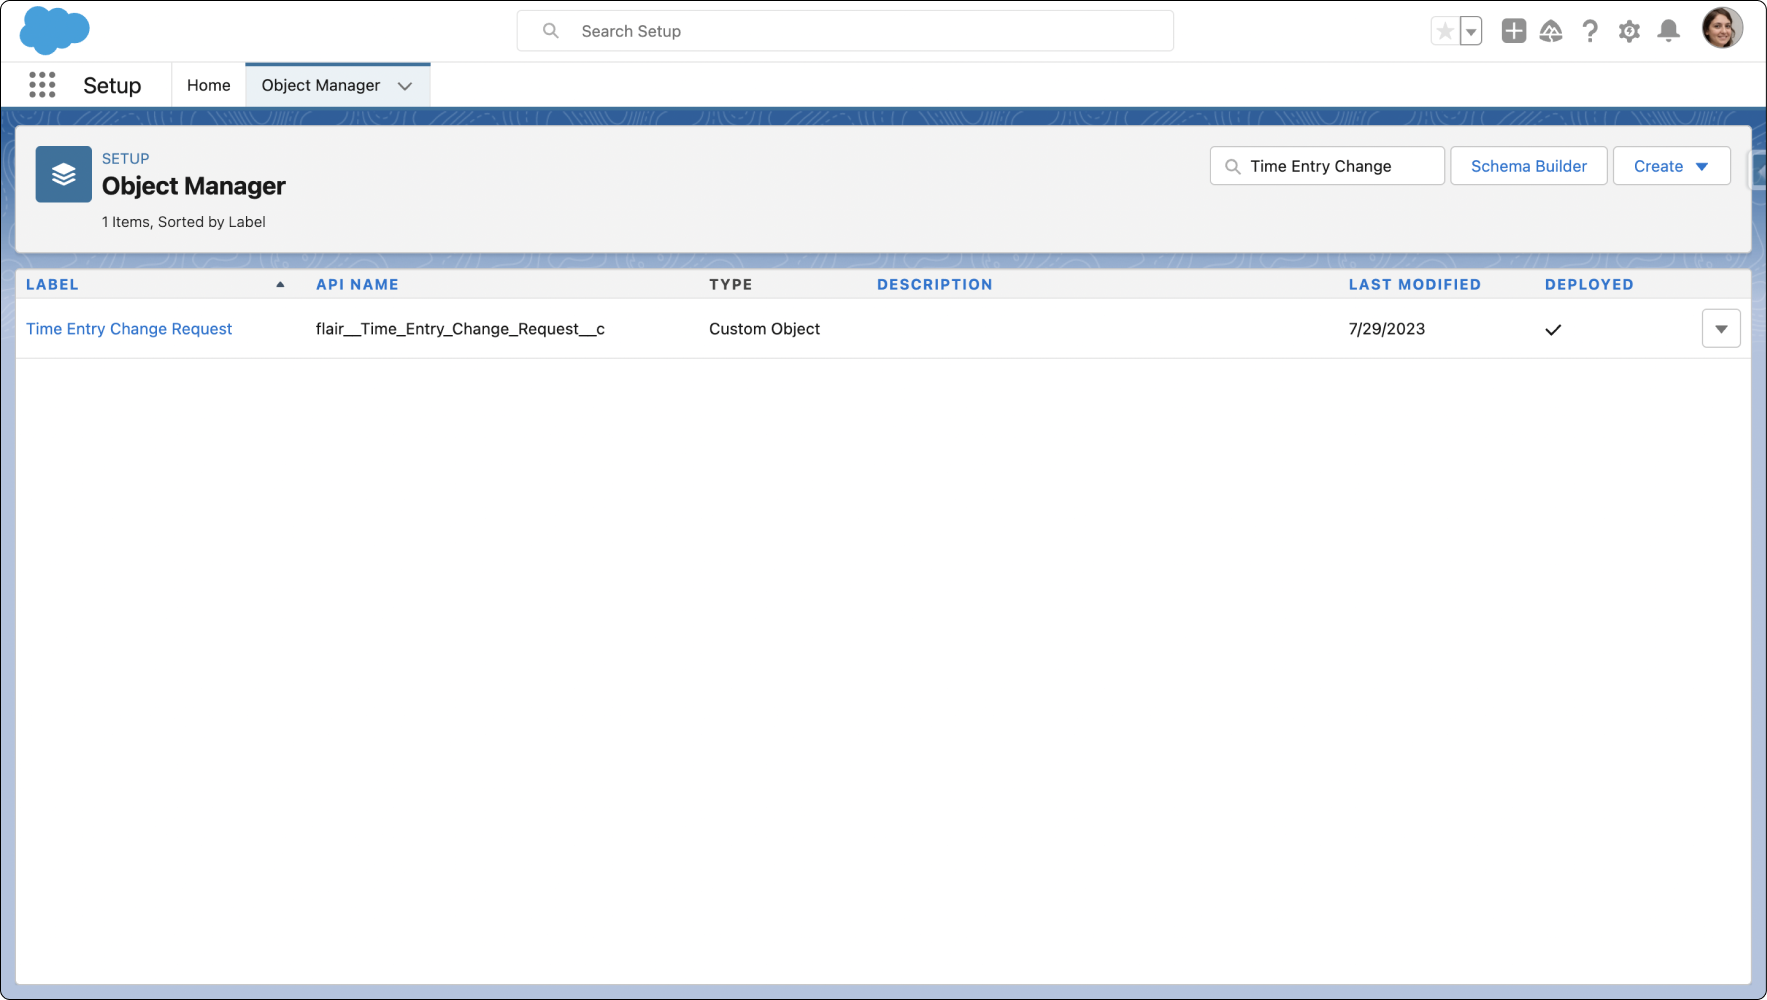
- Like in the other time tracking rule explained above, click on Validation Rules in the left panel
- Click New to create a validation rule about Add Time Entry on the Employee Hub
- Utilize the same formula as in the previous validation rule, which prevents time entry changes on a specified day. Remember the digit on the end of the formula represents the day of the week, with Sunday starting at 1: WEEKDAY( DATEVALUE (flairStart_Datetimec)) = 6
You have now successfully set up validation rules to block time tracking and prevent time entry changes on specific days of the week.
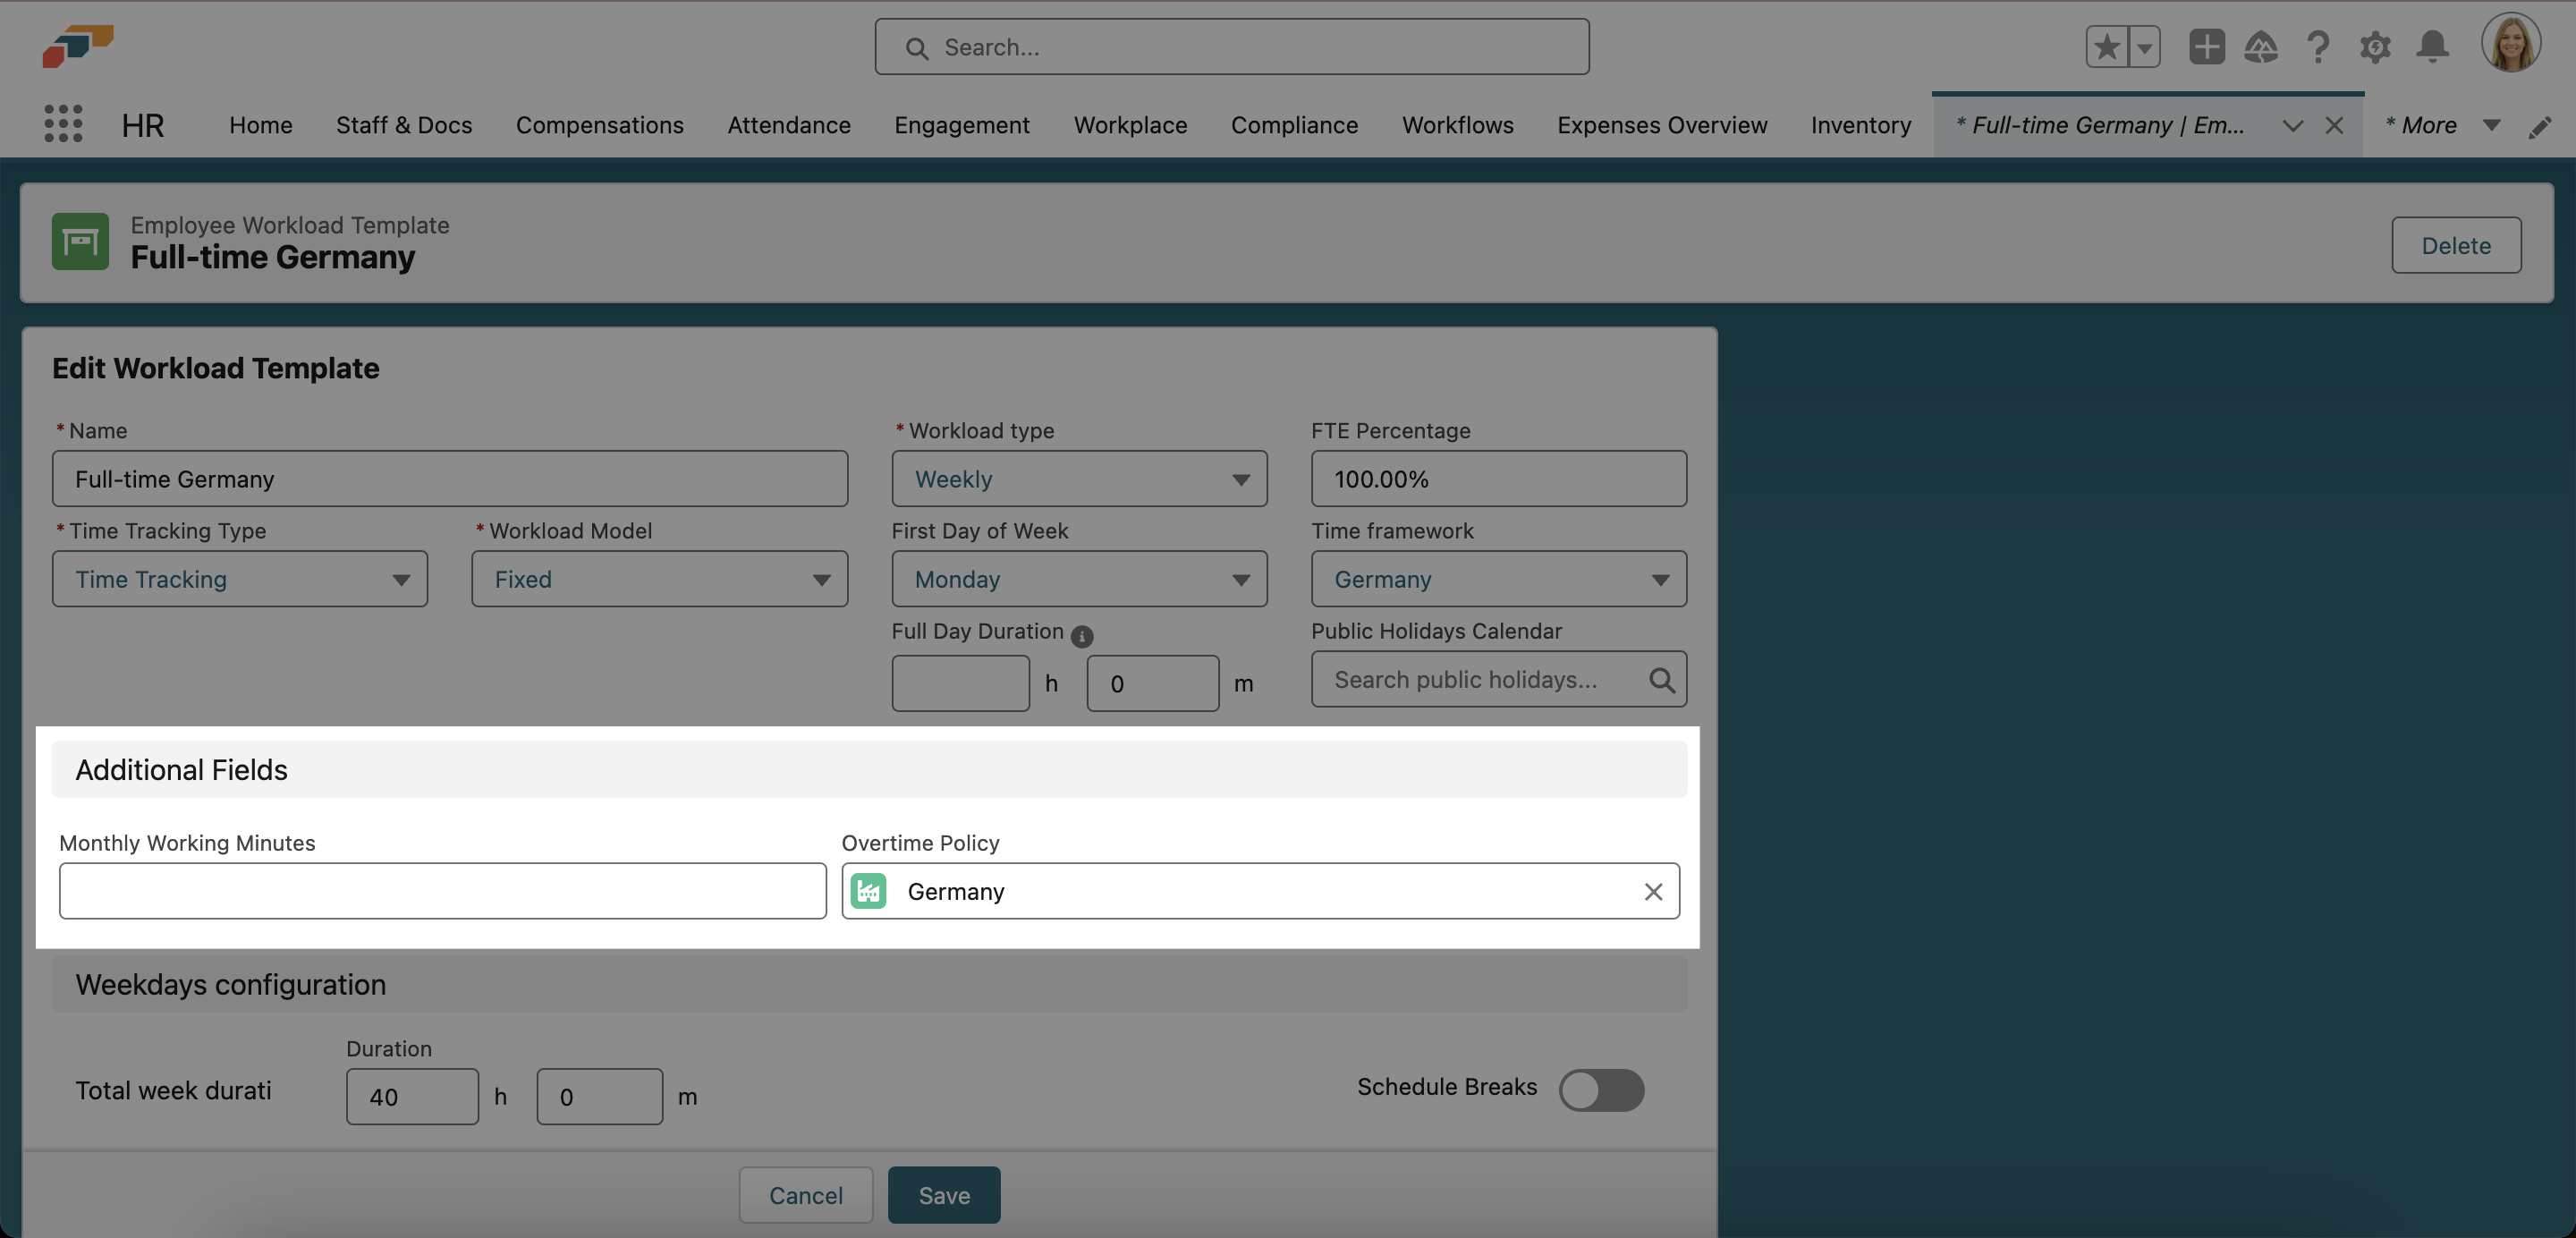
Custom Form Fields for Workloads and Workload Templates
We've added support for custom forms in workloads and workload templates in flair. In just a few steps, you can add new fields to these records using Page Layouts in Salesforce.
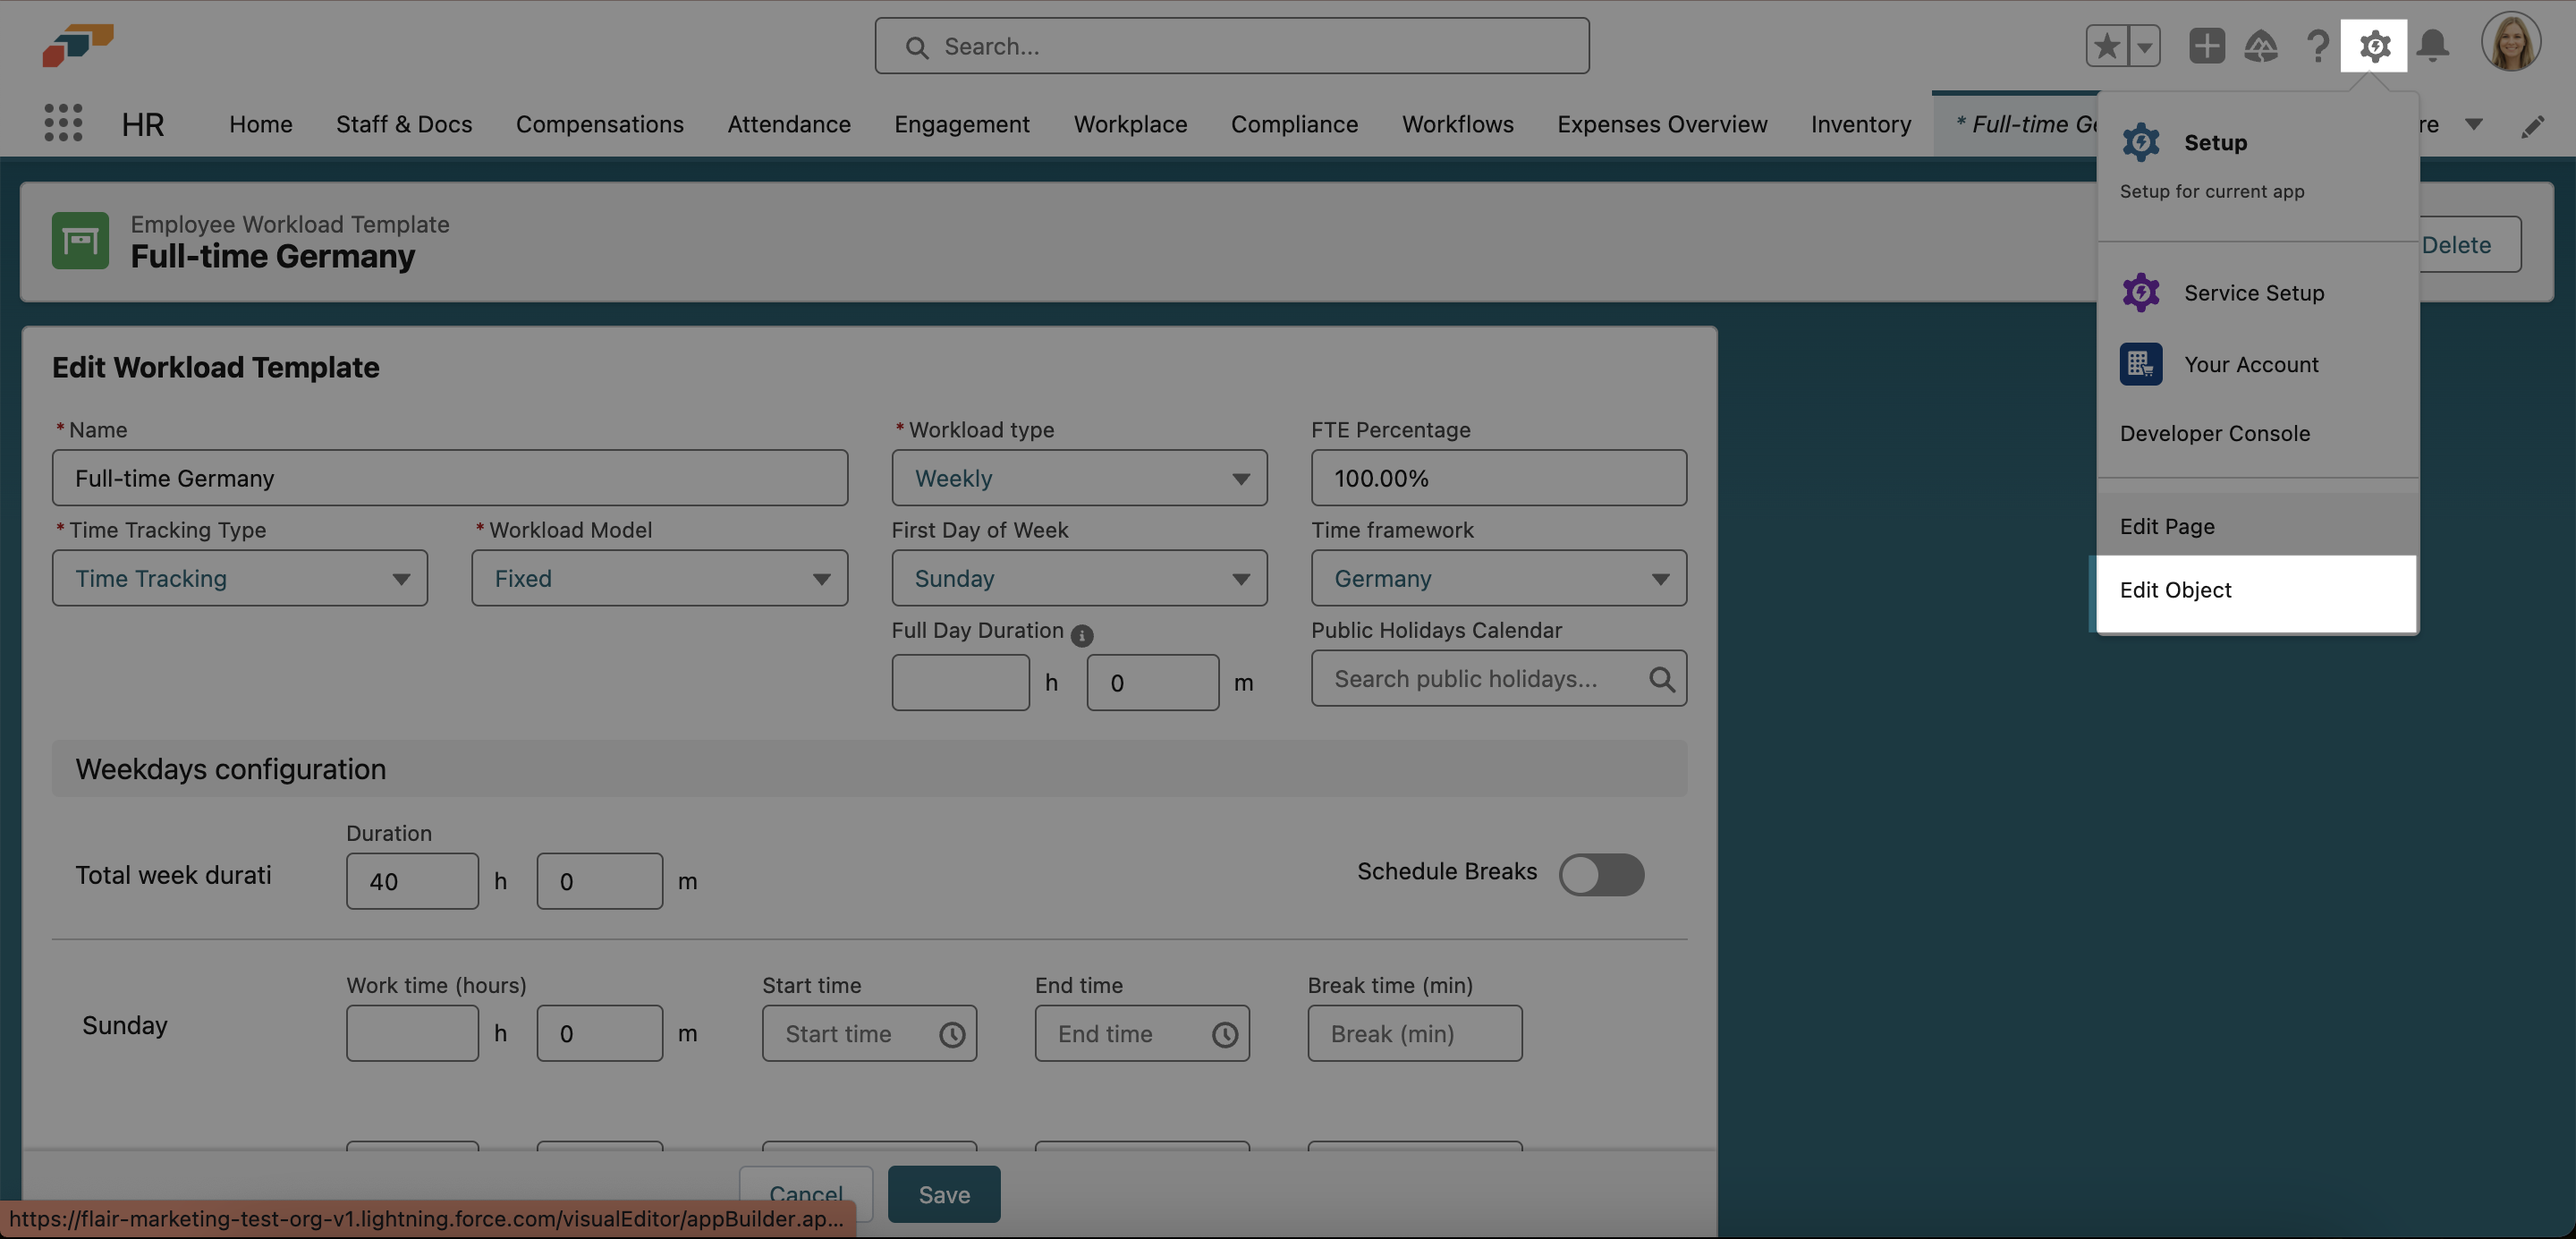
- In the flair HR app, open the AppLauncher 𓃑 and search for Employee Workload Templates.
- Click on the workload template you wish to modify. Now click the gear icon ⚙ and select Edit Object. This will open a new tab in the Salesforce Setup Object Manager.
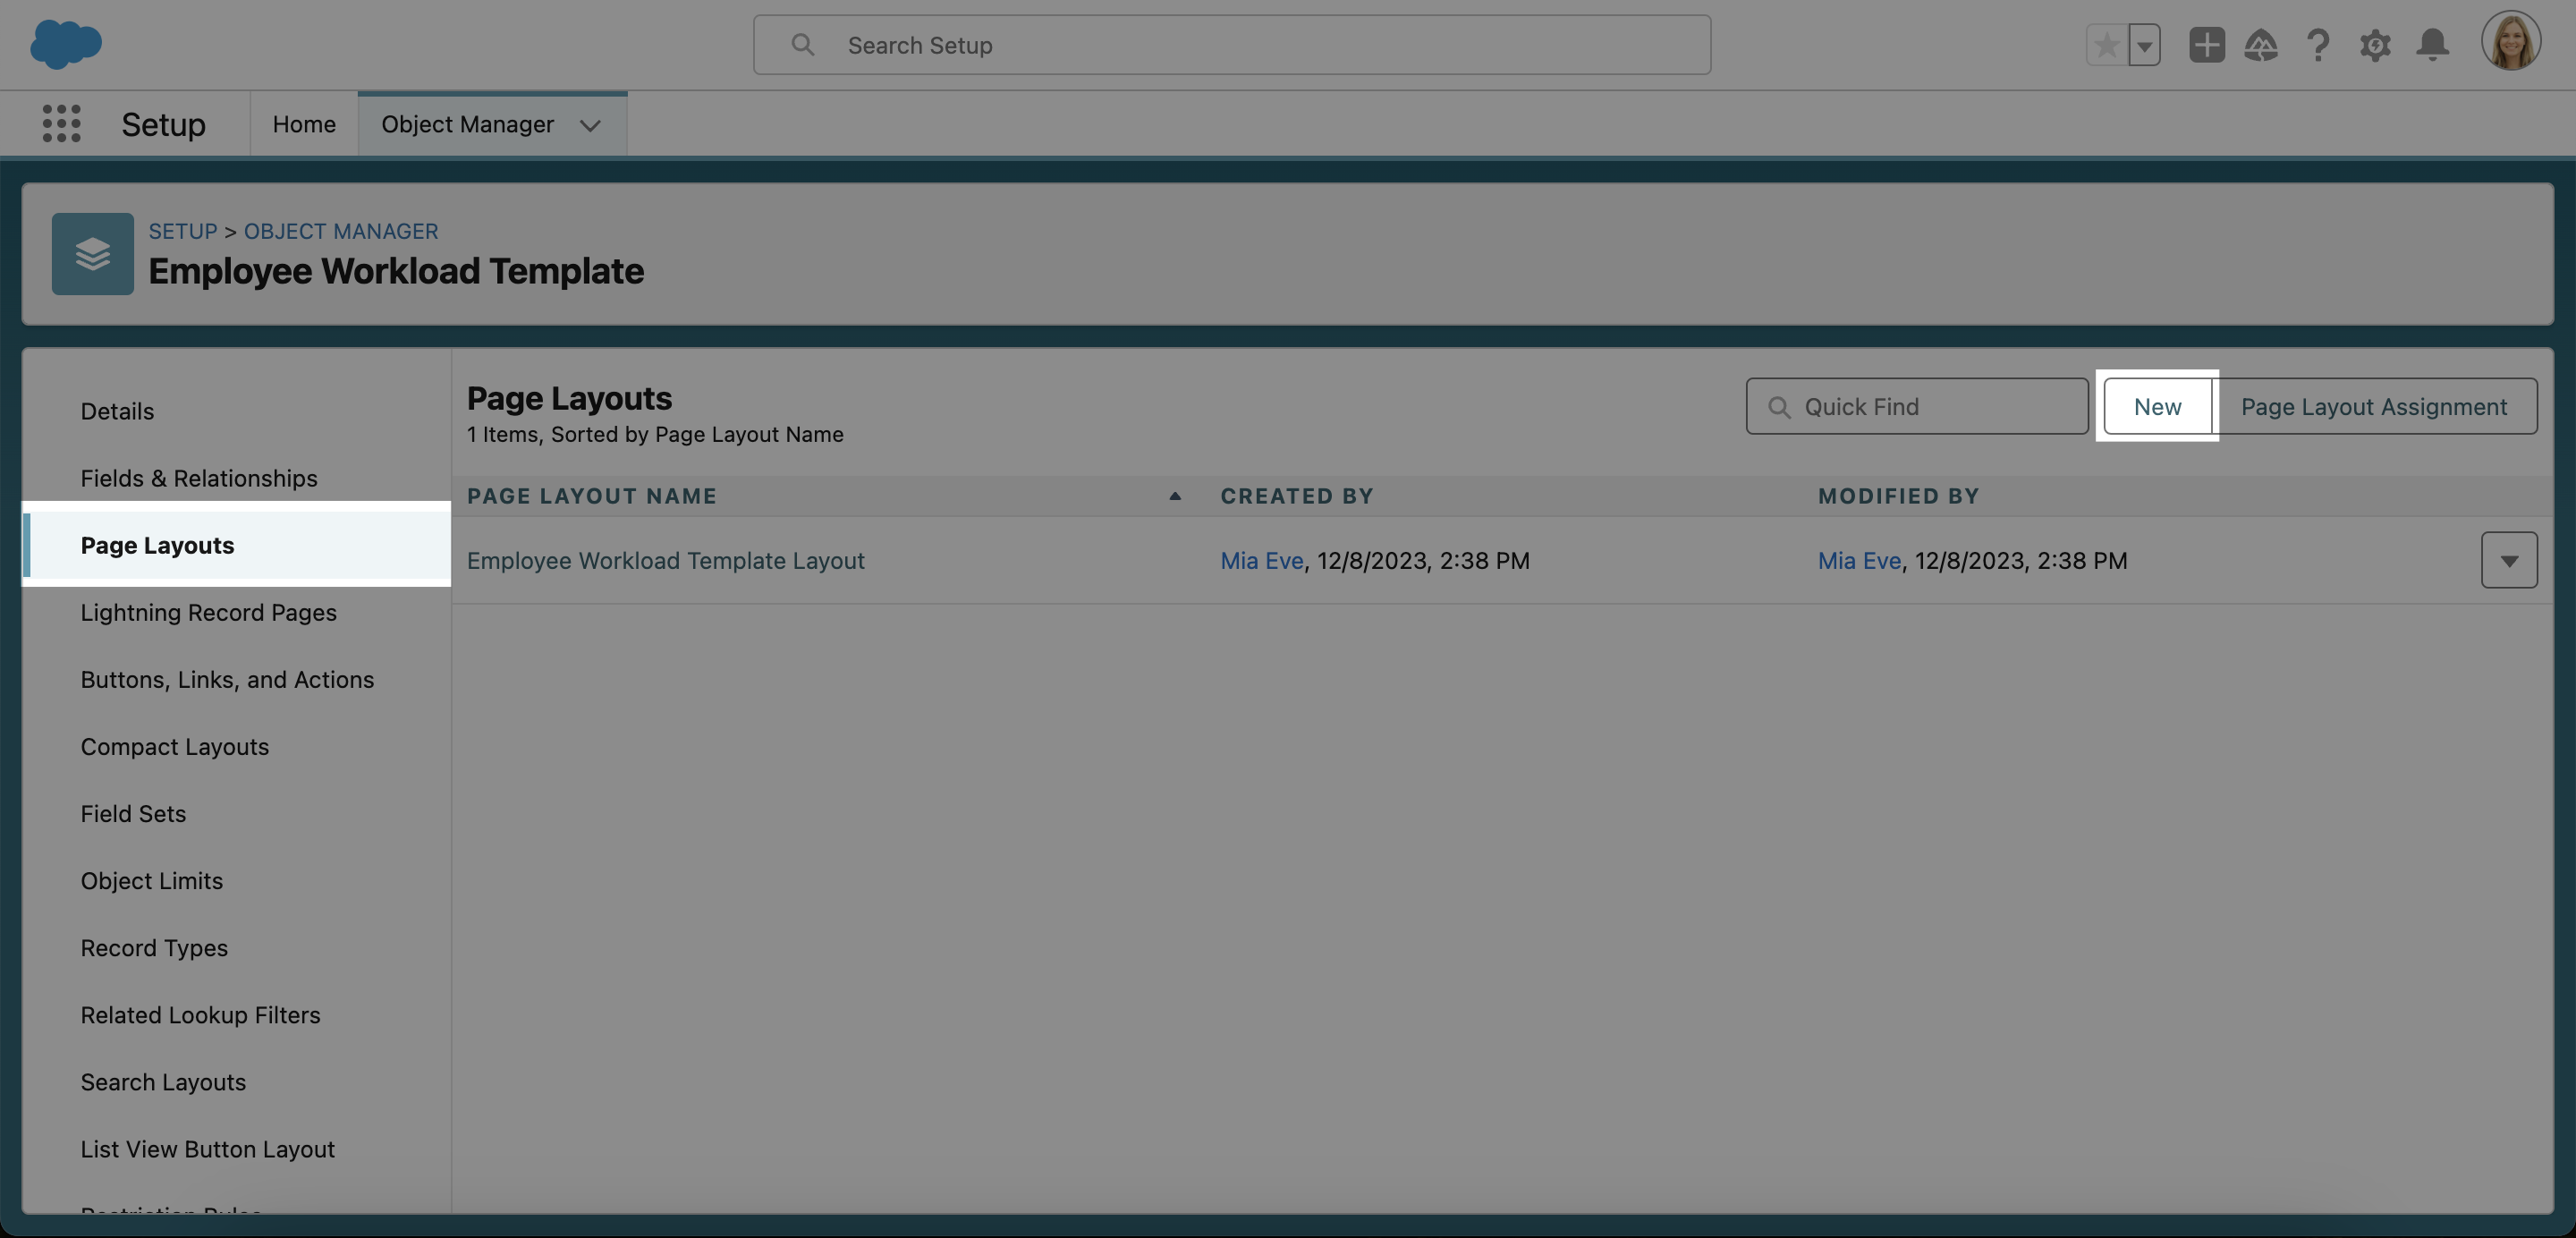
- In the left side menu, select Page Layouts. Then click New.
- Leave the Existing Page Layout set to None, and then enter CustomFormLayout into the Page Layout Name field.
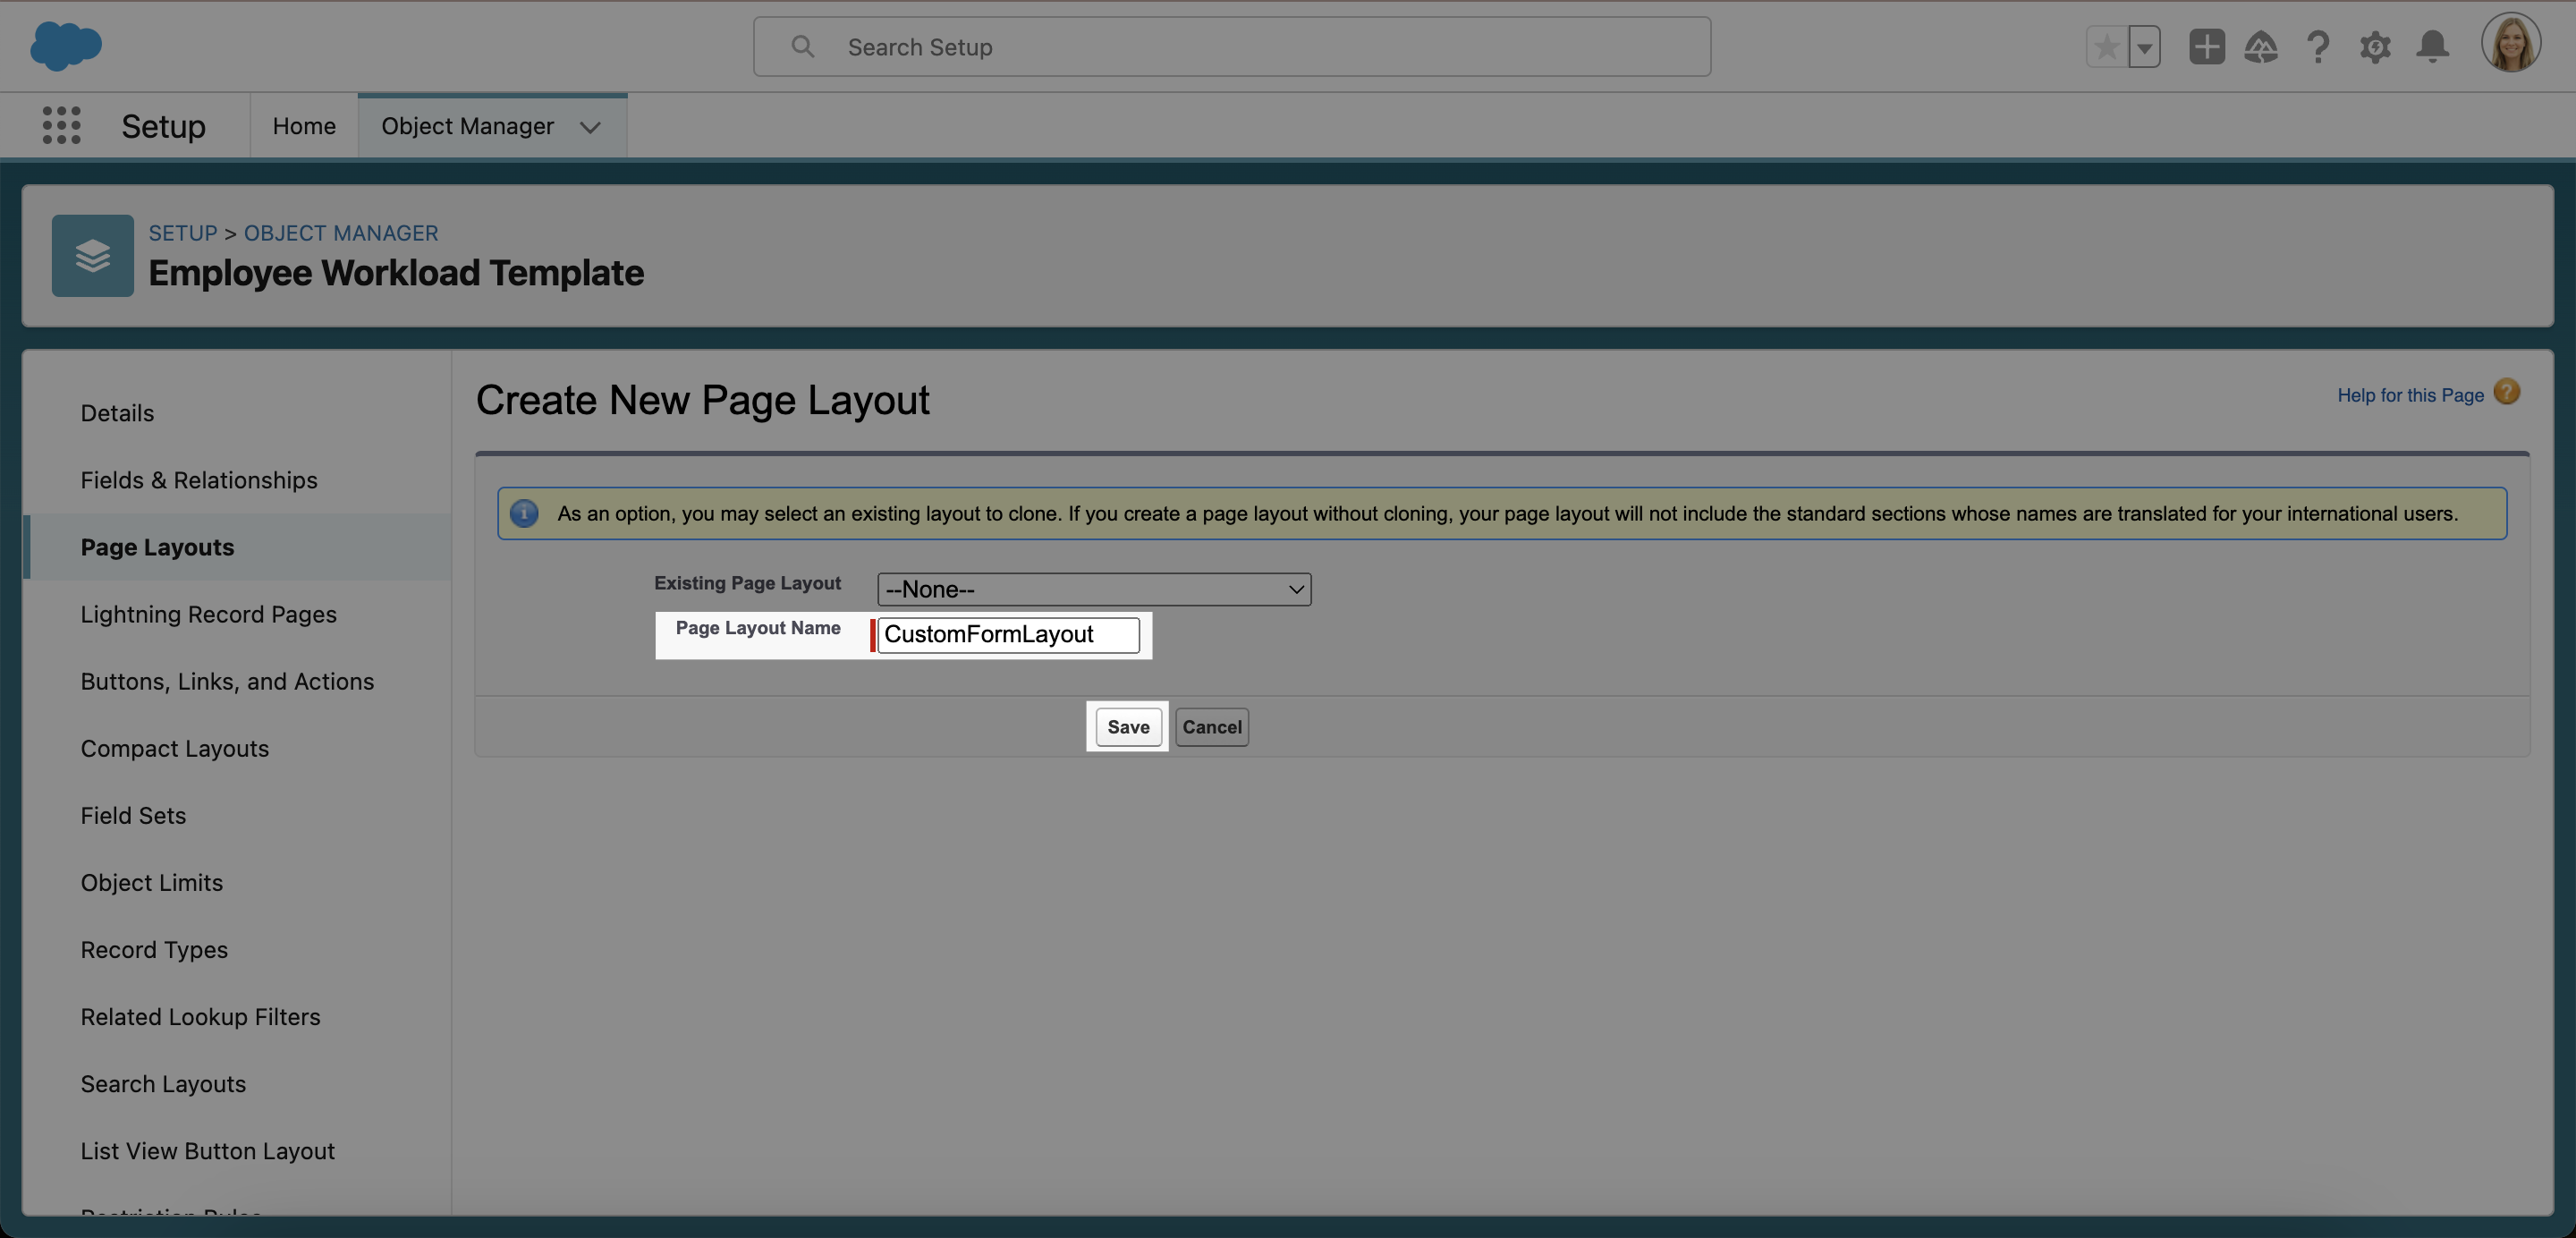
ℹ️ Please note, in order for this custom form to work, the Page Layout Name must be exactly CustomFormLayout (with no spaces and the first letter of each word capitalized).
- Scroll down to Employee Workload Template Detail. You will see a section named Fields (Header Not Visible). Click the wrench icon 🔧 to the right of this and change the Section Name to IGNORE.
- Now you can begin to customize the form fields for your workload templates. Simply drag the available fields from the top of the screen and drop them in the section named Employee Workload Template Detail. Then click Save.
- Now go back to your workload template and refresh the page. Your new section and fields should now be visible.
Time Framework Configuration – Do Not Split Time for Overnight Shifts
Overview
The Time Framework Configuration feature allows you to configure how time is tracked for overnight shifts. When enabled, the "Do Not Split Time for Overnight" option prevents time from being split across calendar days for shifts that span midnight.
Video Tutorial
Configuration
To configure this setting:
- Navigate to Setup in Salesforce
- Search for Time Framework Configuration in Quick Find
- Locate the Do Not Split Time for Overnight option
- Enable or disable this setting based on your organization's needs
When enabled, overnight shifts will be tracked as a single continuous time period rather than being split at midnight.